Prepping a Room for Paint: Interior Painting Tips from Lancaster, CA
Jun 26, 2020

If you’re like most folks, when you are ready to get a project rolling it can be easy to get tunnel vision and to just push full steam ahead until it’s done.  An interior painting project is no different!  This is largely due to the fact that painting is an exciting kind of project.  Seeing the transformation from old to new, tired to fresh, classic to modern, or the other way around, never gets old for professional painters and novices alike.  It is worth it, however, to make sure you take a little extra time to properly prepare the interior space being painted before your brush hits the sheetrock.

Preparing the Interior Space for Painting

painting tape Before you focus on the walls, how about the room itself?  If you watch a professional painting service at work, you’ll notice that they invest the time needed to kick any potential roadblocks out of the way.  Furniture that can be removed should be, and if you can’t move it for any reason it’s a good idea to cover it with drop cloths.  Fixtures should be taken down, including (and maybe especially) outlet covers.

Painting tape is also a fantastic investment.  Too often a home painter will try to impress their friends by cutting in or doing some fancy edging freehand.  It works occasionally, but more often than not it’s wise to play it safe and tape around fixtures, moldings, or anything else that you can’t take down prior to painting.  Just be sure to press the tape very firmly into place so that there are no weak spots where paint might seep through.

Getting Your Interior Surface Ready

spackle 
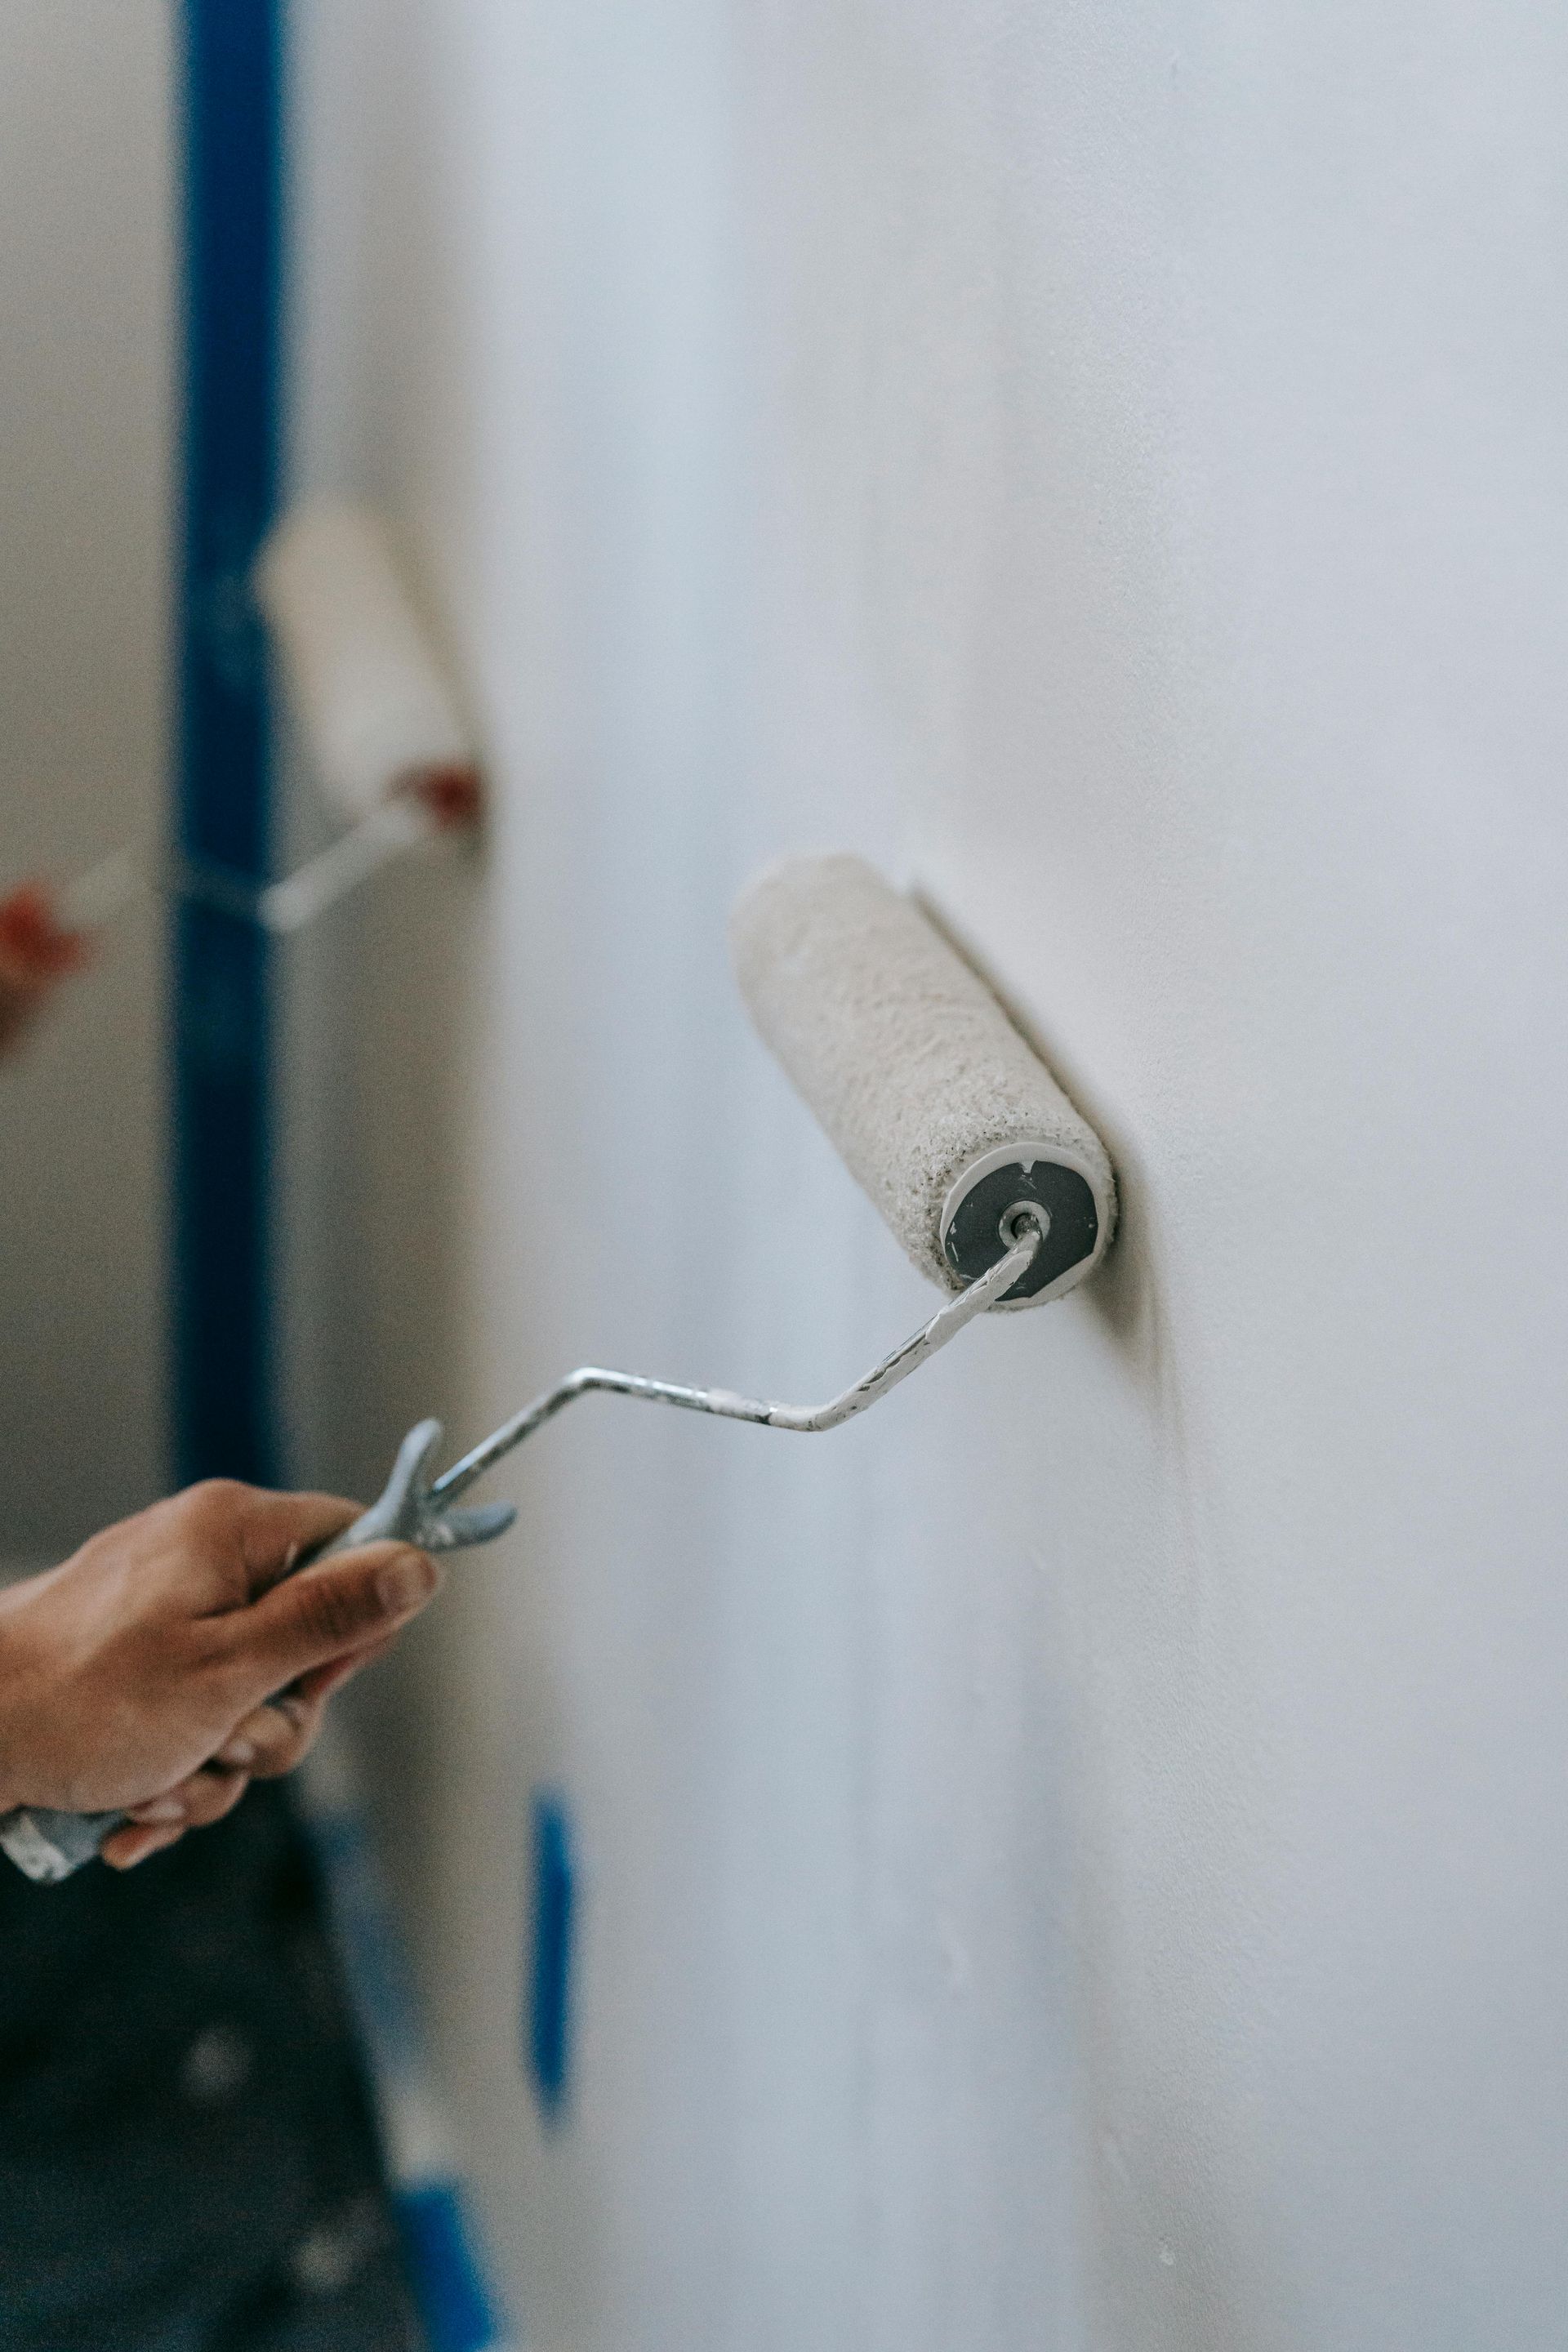
Now that the room is ready, it’s time to focus on those walls.  They are, after all, the focal point of the project.  First, it's wise to wipe them down with a damp cloth.  This removes dust, debris, cobwebs, and really anything else that you don’t want to have permanently fossilized into your wall after you paint that first coat.

As you wipe the walls, keep an eye out for blemishes like cracks, dents, or pockmarks.  Life happens in our homes, and oftentimes walls take more of a beating than we realize!  Most of these dings and dents can be fixed with just a little  spackle.  Fill the spot with a puddy knife, smooth it, and allow it to dry.  Then sand it lightly so that it will be invisible once the paint is applied.  One important note to make is that regardless of whether you’re using  primer  over the whole wall, it is crucial to at least prime over the spot you spackled.

Need Some Professional Painting Help?

If you could use some professional help when it comes to your interior or exterior painting project and you live in the Turlock, Modesto, or Central Valley area, we hope you’ll give us a call!  We offer a number of helpful  services  and would love to put our 24 years of  painting experience  to work for you.

07 May, 2024
The Smart Investment: Why a Good Pool Deck Coating Saves You Money in the Long Run
Lancaster Painting installing garage cabinets
By Kulpreet Gill 20 Apr, 2024
Tim's Garage Transformation: From Concrete Coating to Custom Garage Storage Solutions
Lancaster Painting Unveils Top 3 Color Trends of 2024
06 Mar, 2024
At Lancaster Painting, we're excited to share with you the top 3 awe-inspiring color palettes for 2024. These trends are your go-to guide for giving your home a fresh, confident, and forever stylish look. This year, we're moving away from the 'safe' and soft light palettes. Instead, we're embracing bold, layered tones, and deep shades to create multidimensional interiors.
29 Feb, 2024
Interested in cabinet painting in the Central Valley area? Here are a few of the most common questions we hear about the process and benefits you can expect.
31 Jan, 2024
Have questions about cabinet painting? We have answers! Here’s a look at a few FAQ that we hear all the time.
02 Dec, 2023
Your garage is more than just a place to park your car; it’s an extension of your home. And if there are two things that are sure to transform it, it’s a well maintained, durable floor and a quality storage system. But not all garage solutions are created equal, so it’s important to do the homework before investing in either one of these projects. Wondering where to start? You’ve come to the right place! Let's dive in. Polyurea Concrete Coating: The Premium Choice There are many kinds of concrete coating options out there: from epoxy to acrylic to DIY low-grade sealers. However, when it comes to an attractive, quick, and long-lasting option, polyurea is well-recognized as the best option. Why? Take a look: Durability and Toughness Polyurea is extremely durable and resistant to abrasions, impacts, and chemical spills. Flexibility Unlike many other coatings, polyurea remains flexible even after it cures. This flexibility allows it to absorb impact and adapt to the expansion and contraction of the substrate, reducing the likelihood of cracks and peeling. UV Tolerance This top-of-the-line concrete coating is also extremely resistant to fading or yellowing, so you wont need to worry about that fresh finish going away anytime soon. Seamless and Waterproof Finish When applied, polyurea creates a seamless surface that is also waterproof. This makes any spills or marks very easy to clean. Understanding How Polyurea Concrete Coating Works Polyurea is a type of elastomer that is derived from a reaction between a diisocyanate and a polyamine. Before we get TOO nerdy on you, we can boil it down to this: it’s NOT just another epoxy coating, and the unique chemical structure gives it remarkable physical properties, including flexibility, toughness, and resistance to various environmental factors. Another key difference? How it’s applied: Professional Surface Preparation: Before applying polyurea, the concrete surface must be properly prepared. This usually involves cleaning the floor to remove any dirt, grease, or existing coatings, and then mechanically profiling or etching the concrete to ensure good adhesion. That’s where our heavy-duty concrete grinding machines come into play. Applying the Base Coat: After surface prep, a base coat is applied which penetrates the concrete pores and creates a strong bond between the floor and polyurea. Flakes: Before the base coat dries, vinyl chips (the color choice is yours!) are spread evenly across the garage floor, creating a durable and well-protected layer. Plus, it looks great. Polyurea Top-coat: once the base coat dries and the chips are in place, the excess is removed and the final polyurea top-coat is applied. Cabinets: The Best Garage Storage Solution The floor isn’t the only thing that significantly affects the overall functionality and style of your garage. Without an organized storage system, a garage can quickly fall into a chaotic state. We’re speaking from direct experience here (we’re homeowners too, after all!). So what should you look for in a good garage storage cabinet?  Durability Strength Customization Every garage is different. Customizable cabinets allow you to have more say in size, shape, and design as opposed to plastic or metal stock shelving. But a cabinet that fits well isn't worth much if it doesn’t age well. For garage cabinet systems especially, durability is key. If a cabinet is constructed well and finished with a high quality powder coat (as opposed to traditional painting methods) you can be sure it will stand the test of time. For more detailed information, take a look at this blog: What’s the Best Kind of Garage Storage Cabinet in the Central Valley? What’s Your Takeaway? Let’s recap. Transforming your garage is a significant step towards enhancing your home's functionality, appeal, and value. By choosing professional concrete coating services and custom storage installation, you're investing in quality, safety, and enduring value. For any more questions or inquiries, our team at Lancaster Painting is just a call away. Frequently Asked Questions Q: Are custom garage storage solutions really worth the investment? A: Absolutely! Custom garage storage solutions are designed to fit your specific needs and space, making your garage more organized and efficient. They can help maximize space, reduce clutter, and make finding and accessing tools and equipment easier. This level of customization and efficiency is difficult to achieve with off-the-shelf storage products. Q: Can polyurea coatings be applied to any concrete surface? A: Polyurea can be applied to most concrete surfaces. However, the concrete needs to be properly prepared, which includes cleaning, repairing any cracks or damages, and ensuring the surface is level for optimal adhesion and finish. Q: How do custom storage solutions compare to pre-made options in terms of cost? A: Custom storage solutions may initially cost more than pre-made options due to their personalized design and high-quality materials, but they offer better durability, functionality, and are tailored to fit your specific space, providing better value in the long term. Q: How long does a polyurea floor coating last compared to traditional coatings? A: Polyurea floor coatings typically have a longer lifespan than traditional coatings like epoxy. With proper maintenance, a polyurea coated floor can last for decades, whereas others might require reapplication or repair within a few years.
garage cabinets
31 Oct, 2023
Discover the key features of ideal garage cabinets for storage in the Central Valley. Learn about durability, customizability, and eco-friendly options.
29 Sep, 2023
What do you do when you want a new look in your kitchen, but don’t want a full remodel?
18 Aug, 2023
Should you get an epoxy floor coating?
28 Jun, 2023
Looking to give your kitchen a fresh, updated look without breaking the bank?
09 Mar, 2023
Every painting project we take on is unique in its own way, and satisfying in its own way too.
25 Aug, 2022
When you buy a Penntek concrete floor coating, you’re buying peace of mind.
More Posts
Share by: